Blended Learning Open education
Cheap and cheerful instructional videos
Olivier Charbonneau 2015-07-03
I have been trying out and testing different models to create instructional tutorials for the past few years. I provided an account of my last iteration in a post on this blog, called “Anatomy of a YouTube Tutorial” and “My gear to record a session“. I think I may have figured out a better way to do this, essentially optimizing the production cycle of the videos.
The gist of my most recent idea is still to use QuickTime on my Mac, an ancient MacBook Pro, but with a twist. Remember that QuickTime allows you to record the screen as well as make a video directly from your Mac using the on board camera and mic (I bought a self standing USB mic because the on broad mic sucks).
In that sense, I launch QuickTime and select File > New video. A window opens where I see myself in front of my Mac. I place this window in the corner of my screen and position my browser on the left and I fill the gap on the top right corner with a text file where I can place information (such as the outline of the talk).
The idea is to then launch File > New Screen Recording and the screen recording catches the “mirror image” of the video on the corner of my screen (I never actually record the video of my face, I just use the image of it in the corner).
Here is what the screen looks like:
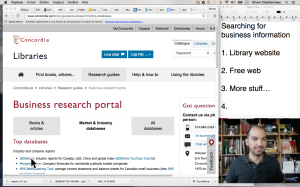
The point here is that I can generate one simple video file with 3 screens on it: a browser (or any other document), a text file (or any other filler information (actually, this could be a PPT, a script or anything really) and my face.
The only issue is that the table I use is not super stable and my laptop screen tends to wobble if I am not delicate in typing or putting my hands on the table. But this seems like a way to generate tutorials with minimal editing required..
Blended Learning Guidelines - recommendations Information Technology Inspiration Open education
Report on 10 trends that can transform education
Olivier Charbonneau 2014-11-21
A new report from the UK highlights 10 trends or new techniques in education that may have a profound impact on how we teach and learn. Academics from the Institute of Educational Technology and the Faculty of Mathematics, Computing and Technology at The Open University offer us the Innovating Pedagogy report, the third such report released to date.
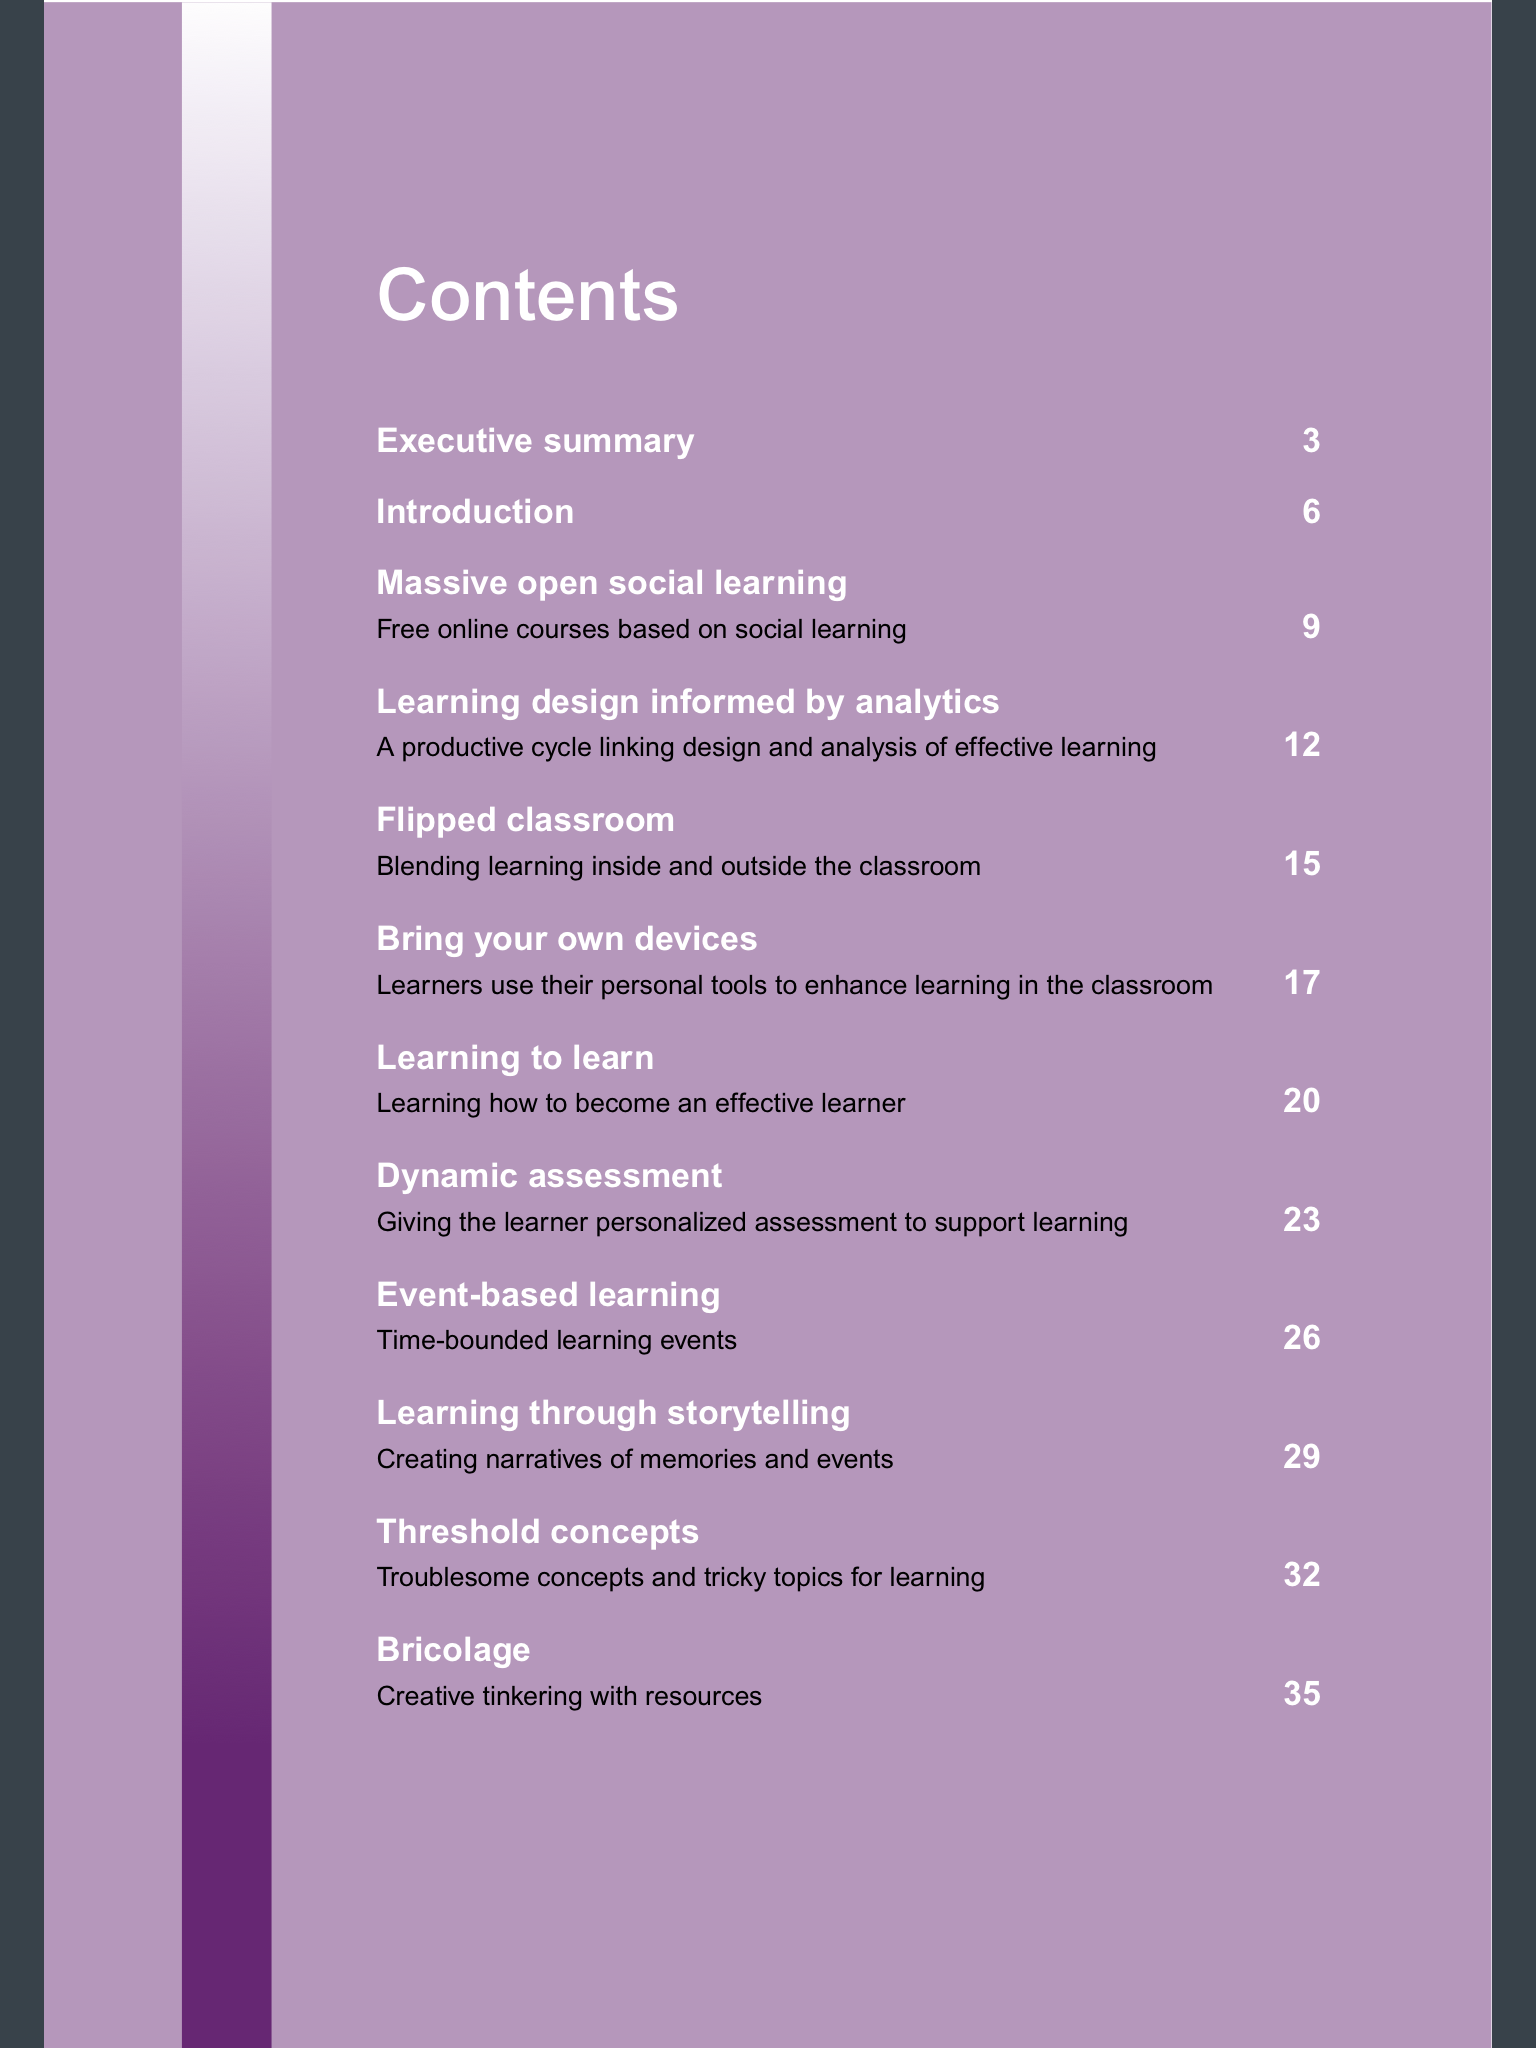
Here is the outline:
Massive open social learning : Free online courses based on social learning
Learning design informed by analytics: A productive cycle linking design and analysis of effective learning
Flipped classroom: Blending learning inside and outside the classroom
Bring your own devices: Learners use their personal tools to enhance learning in the classroom
Learning to learn: Learning how to become an effective learner
Dynamic assessment: Giving the learner personalized assessment to support learning
Event-based learning: Time-bounded learning events
Learning through storytelling: Creating narratives of memories and events
Threshold concepts: Troublesome concepts and tricky topics for learning
Bricolage: Creative tinkering with resources
Academic Integrity Open education
MyGradSkills.ca
Olivier Charbonneau 2014-09-12
According to the Quuen’s Gazette:
A group of Ontario universities have collaborated together to create MyGradSkills.ca, a free online professional skills training website that’s tailored to graduate students’ distinct experience. Funded by the Ministry of Training, Colleges and Universities through the Productivity and Innovation Fund, the site cultivates skills and abilities needed to thrive both during and after a student’s degree program.
I looked at the website and it seems it is only accessible from Ontario. One could request access, see:
If you don’t live in Ontario, you’ll still have access to all of the other offerings of MyGradSkills.ca, and we are working as quickly as we can to give access to the modules for students from across Canada and around the world. If you’re a graduate student or postdoctoral fellow at a university outside Ontario, and you’d like your university to get access, just talk to your graduate dean (or equivalent), and have them contact us at gpsontario@gmail.com. We are working out a range of different membership and partnership options to make the modules accessible to as many graduate students and postdocs as possible, so that everyone can benefit.
MyGradSkills.ca also have a blog, which I added to my RSS feeds.
Information Technology Open education
Using Word with Style (MS Word ™ 2007 edition)
Olivier Charbonneau 2014-08-11
This is a worksheet I prepared for a presentation about creating table of contents in MS Word. The structured text is below, but you can also use these versions :
– Using MS Word (2007) with Style (PDF)
– Using MS Word (2007) with Style (.doc)
Using microsoft word with style
Outline
Creating a table of contents
– Establishing title structure
– Removing superfluous formatting symbols and styles
– Applying styles to reflect title structure
– Dividing the document: multiple page number formatting
– Inserting and managing your table of contents
Creating a list of figures
Creating an index
Creating a table of contents
Establishing title structure
Before you start writing, think about the structure of your document, such as the different sections and sub-sections. For example, the introduction section could have sub-sections which include an opening, a problem statement or research question, a literature review, etc.
This step does not involve Microsoft Word and is rather an effective writing method.
Removing superfluous formatting symbols and styles
If you are copying text from another document, make sure it is cleared of all formatting and other superfluous formatting symbols, such as empty paragraphs.
A good method if to use: Home > (Clipboard) Paste Special > Unformatted Text
Also, you could show the paragraph marks: Home > (Paragraph) 
Applying styles to reflect title structure
Use the style browser to apply a title level to each section titles and sub-section titles. Section titles are “Title 1” and sub-section titles are “Title 2”.
The style browser: Home > (Styles)
Dividing the document: multiple page number formatting
First, you must divide your document into different sections. Insert section breaks to a new page: Page Layout > (Page Setup) Breaks > (Section Break) Next Page
Then, access the page footer to make it different than the previous:
Insert > (Header & Footer) Footer > Edit Footer
Toggle this option: Design > (Navigation) Link to previous
This allows having different page numbering styles. Now, for each section, you need to do two things. First, you need to configure each footer’s page numbering style (Roman numerals, Arabic numerals, letters). Second, you need to insert the page number. Here’s how:
- Format page numbering for section: Insert > (Header & Footer) Page Number > Format Page Number
- Select the desired Number Format
- Select Start at 1 (toggle from Continue from Previous Section)
- Insert page number in the section: Insert > (Header & Footer) Page Number…
Repeat for each section with page numbers (you can have a section with no page numbers).
Inserting and managing your table of contents
Now, once you have applied styles to your section and sub-section titles and the formatting of the page numbers for each section, you are ready to insert the table of contents:
References > (Table of Contents) Table of Contents > Insert Table of Contents
This will open the table of contents dialog box. You can select a Format for your table of contents as well as cluck on the Options button to decide which “title levels” to include.
If you later change your document, you can update the table of contents with a click of the mouse. Just hover the cursor over the table of contents and activate the contextual menu (“right-click”) and select Update Field > Entire Table.
Creating a list of figures
First, below each figure, insert a caption:
References > (Captions) Insert Caption
Then, insert a table of figures:
References > (Captions) Insert Table of Figures
To update the table of figures, just hover the cursor over the table of contents and activate the contextual menu (“right-click”) and select Update Field > Entire Table.
Creating an index
First, manually go through your text. Each time you refer to a concept you want included in the index, mark the entry:
References > (Index) Mark Entry
Then, insert an Index:
References > (Index) Insert Index
To update the index, just hover the cursor over the table of contents and activate the contextual menu (“right-click”) and select Update Field > Entire Table.
Blended Learning Information literacy Open education
Technologies for a flipped classroom
Olivier Charbonneau 2014-06-06
This just came out : the latest “Tips and Trends” report from the Instructional Technologies Committee members of the American College and Research Libraries and the American Library Association.
Tips and Trends, written by Instructional Technologies Committee members, introduces and discusses new, emerging, or even familiar technology which can be applied in the library instruction setting. Issues are published 4 times a year.
Technology for Flipping the Classroom
Spring 2014
By Angela Colmenares
